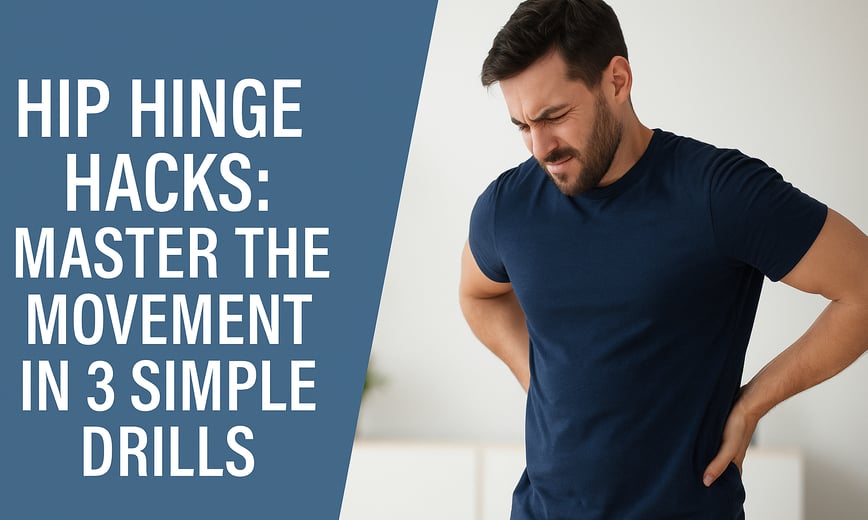
Hip Hinge Hacks: Master the Movement with These 3 Simple Drills
Struggling with back pain or bad lifting form? Learn how to master the hip hinge using 3 easy drills that improve strength, mobility, and posture. Includes top-rated Amazon tools to make the process even easier and more effective.
5/19/20253 min read


Hip Hinge Hacks: Master the Movement in 3 Simple Drills
If you’ve ever hurt your back picking something up—or your hamstrings feel like guitar strings every time you try to stretch—it might be time to check your hip hinge. It’s one of the most important movements you can learn, and once you get it down, your body will thank you.
Whether you're lifting at the gym or just grabbing groceries off the floor, a solid hip hinge protects your lower back and powers up your glutes and hamstrings. Today, I’ll show you 3 super simple drills to dial it in—and throw in a few tools I found on Amazon that’ll make it even easier.
Why Should You Even Care About the Hip Hinge?
First off, it protects your spine. Most people bend from their back, not their hips—and that’s where pain starts.
Second, it makes you stronger. Your glutes and hamstrings are powerhouse muscles—hinging properly lets you actually use them.
And finally, it helps in everyday life. Picking up your dog, loading the dishwasher, deadlifting 225—it all comes back to the hinge.
So let’s get into these drills.
Drill 1: Wall Tap Hinge (1–2 minutes)
How to do it:
Stand facing away from a wall, a few inches out. Push your hips back slowly until your butt taps the wall—then squeeze your glutes and come back up. Keep your chest up and back flat the whole time. Do 10–12 slow reps.
Why it’s helpful:
It teaches your body to move from the hips, not the lower back. The wall is your cue—if you can't reach it without rounding your spine, your hinge needs work (or your hamstrings are tight).
Product we recommend: TriggerPoint GRID Foam Roller
Tight hamstrings or glutes can mess with your hinge. Roll them out before or after to give yourself more space to move.
Solid, textured surface that gets into tight spots
Sturdy and won’t flatten after a week
Great for pre/post workout or even recovery days
Use it for 60 seconds per side before your drills—it makes a big difference.
Drill 2: Broomstick Hinge (1–2 minutes)
How to do it:
Grab a broomstick or dowel. Hold it along your back with one hand behind your neck and one at your lower back. Keep three points of contact: back of your head, upper back, and tailbone. Now hinge back. If you lose any of those points, your form’s off. Do 10 reps.
Why it’s helpful:
This one makes it super obvious when you're moving the wrong way. You’ll feel instantly when you start rounding your back or leaning too far forward.
Product we recommend : Yes4All Wooden Dowel Rod
Grab a solid dowel so you can run this drill right.
Yes4All 4‑Foot Wooden Dowel Rod
Lightweight and smooth
Long enough for any height
Useful for tons of drills—not just the hinge
Keep one by your desk or home gym to practice whenever.
Drill 3: Kettlebell Counterbalance Hinge (1–2 minutes)
How to do it:
Hold a light kettlebell or dumbbell out in front of you with straight arms. It should be just enough weight to pull you forward a bit. Now push your hips back like you’re trying to close a car door with your butt. Keep your back straight, then drive up through your heels and squeeze your glutes. 8–10 slow reps.
Why it’s helpful:
This helps you sit back into your hinge. A lot of people squat instead of hinge—this drill fixes that by using the weight as a counterbalance.
Product we recommend : CAP Barbell Cast Iron Kettlebell
Start light and focus on form—this one’s a classic.
CAP Barbell Cast Iron Kettlebell
Tough, grippy handle
Compact and lasts forever
Tons of size options so you can progress
Start with 10–15 lbs if you’re new, then work up once you lock in the form.
Quick Routine to Lock It In
Here’s how to put it together in under 5 minutes:
Warm-up: 30 sec of glute bridges or leg swings
Wall Taps: 10–12 reps
Broomstick Hinge: 10 reps
Kettlebell Hinge: 8–10 reps
Cool down: Foam roll or stretch the hamstrings
Run that flow 3–4x a week and your hinge will be dialed in fast.
Final Thoughts
Mastering your hip hinge is a game-changer. You’ll lift better, move better, and stop feeling tight or tweaked every time you bend over. With these 3 drills—and a little help from a roller, a dowel, and a kettlebell—you can fix your hinge without spending hours in the gym or breaking the bank.
Try them out this week and let me know which one helped the most. Once the hinge is locked in, the rest of your training just clicks.
FITNESS
Nutrition
WellnesS
info@movebetterco.com
© 2025. All rights reserved | Privacy Policy | Terms & Conditions